WordPress on Amazon EKS

Task description
In this task, we have to deploy a WordPress site on EKS(Elastic Kubernetes Services).
Need of EKS?
EKS is a managed Kubernetes service from AWS which makes it easy for you to run Kubernetes on AWS without needing to install, maintain, operate and maintain your Kubernetes
Basic requirements:
1 Basic AWS cloud knowledge
2 Basic Kubernetes knowledge
3 Some pre-installed software like AWS CLI ,kubectl, and eksctl to run the services from the cmd line
So let's get started
STEP 1 — Create an IAM user
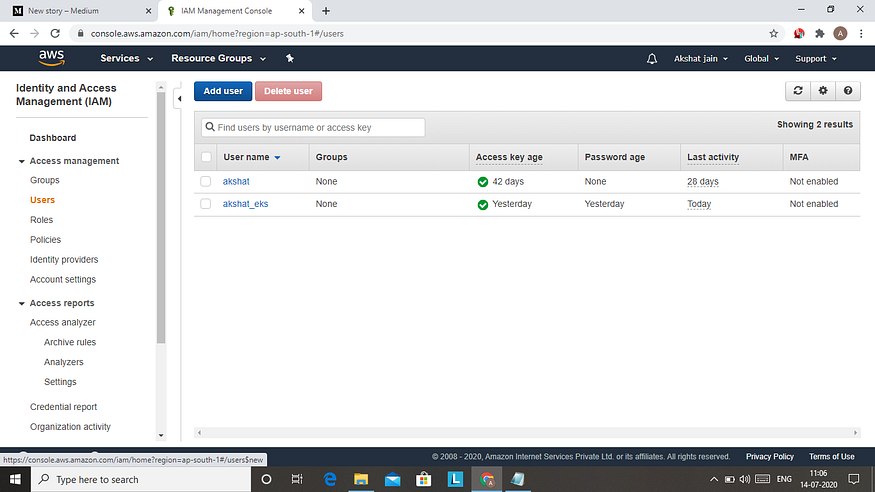
I already created an IAM named akshat_eks to do this task after creating an IAM login to it using Access Key and Secret Access Key
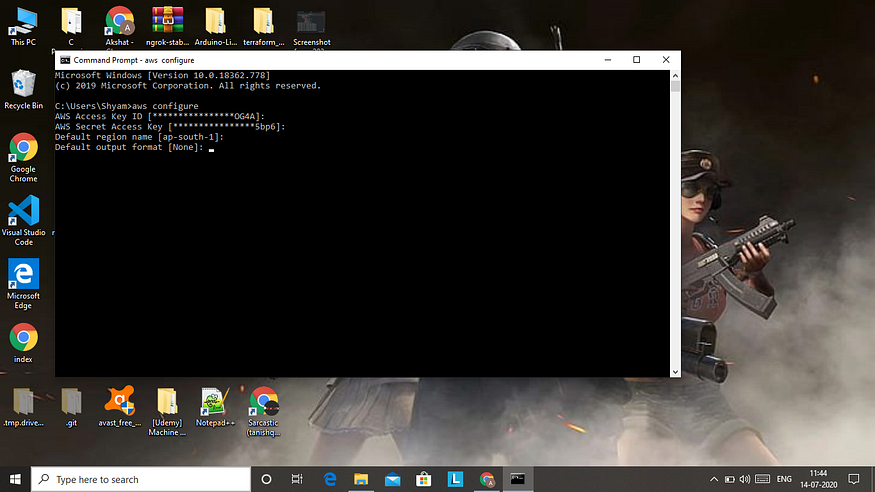
STEP 2 — After logging in configure your aws
cmd — aws configure
STEP 3 — Create a cluster.yml file in notepad
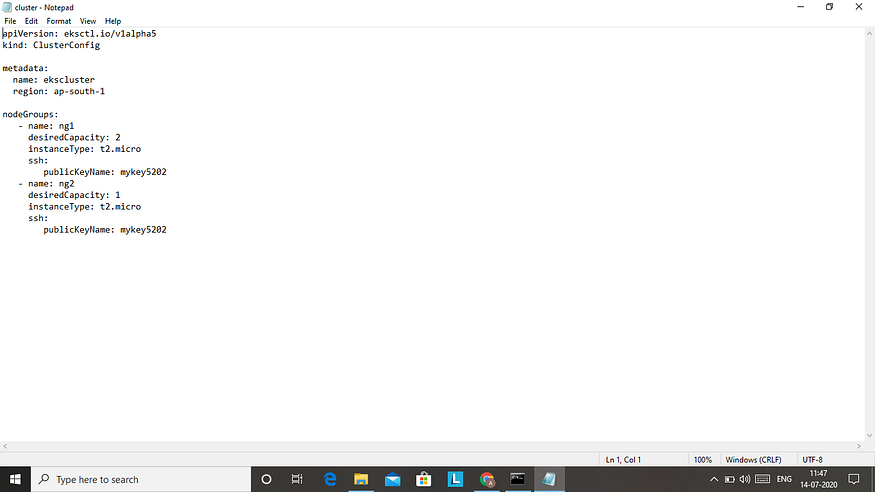
After creating the cluster.yml file run the cmd to create a cluster in EKS
cmd — eksctl create a cluster -f cluster.yml
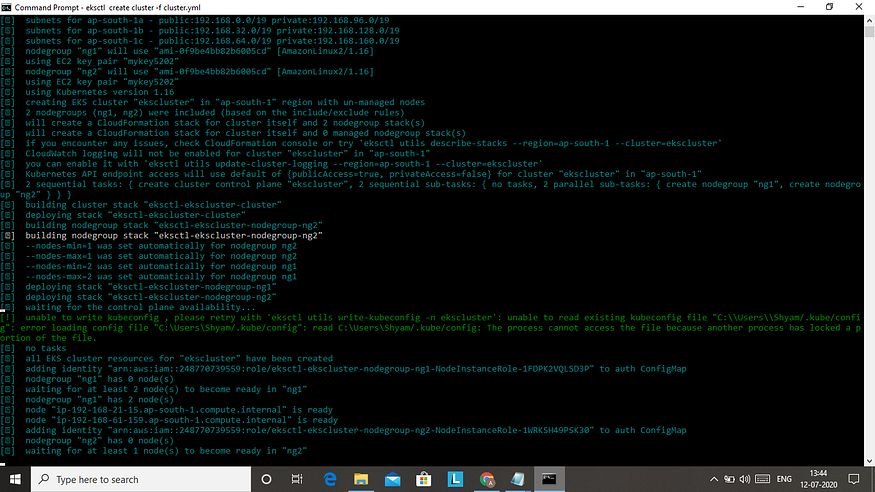
After creating the cluster let's move to the next step
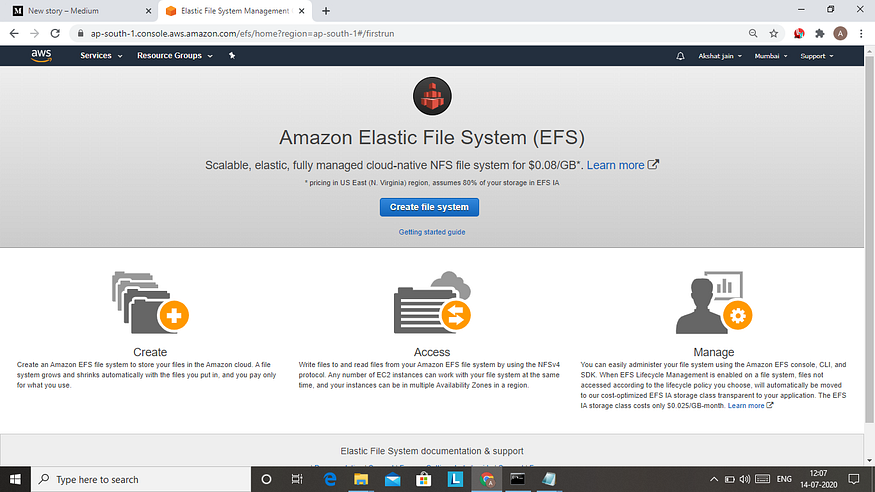
STEP 4 — In this step, we create an EFS system for our websites so that it can store the user data permanently and not loose it if your instance is terminated due to some reason
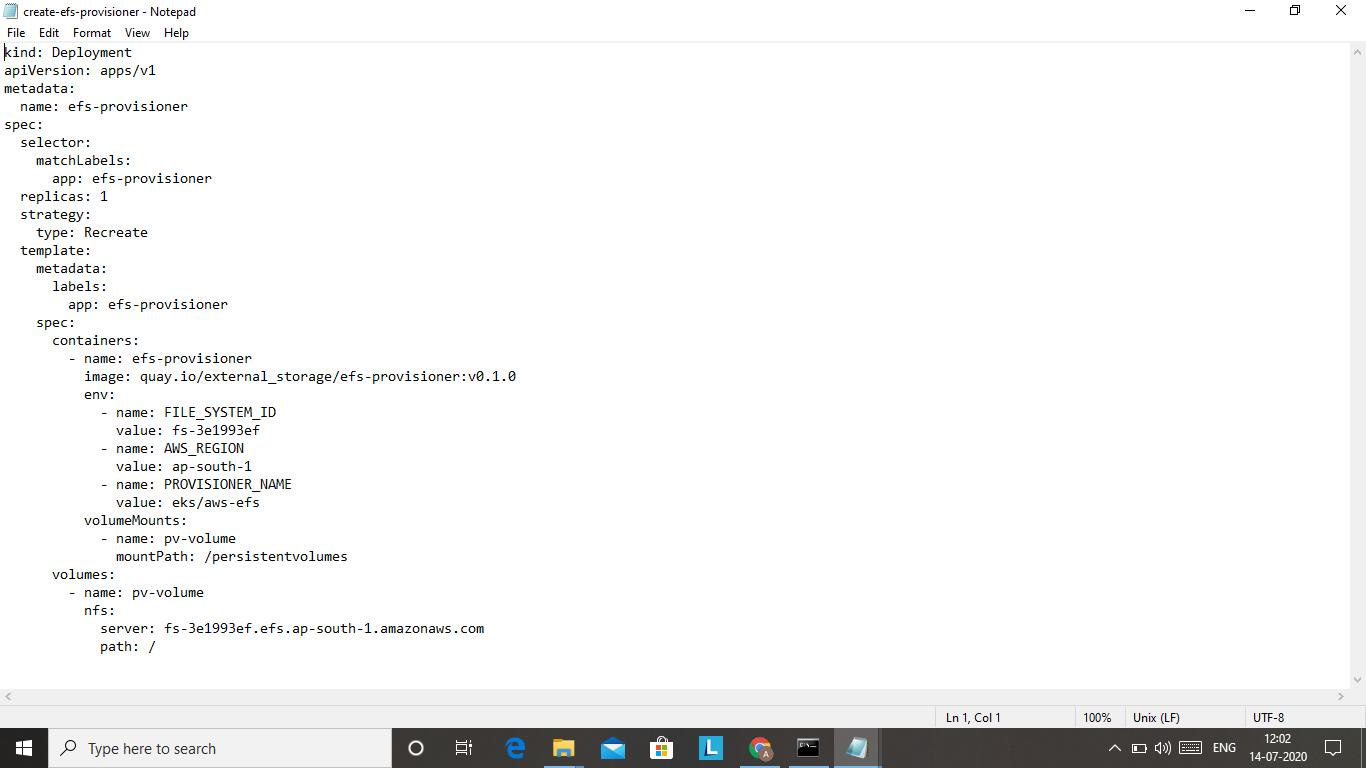
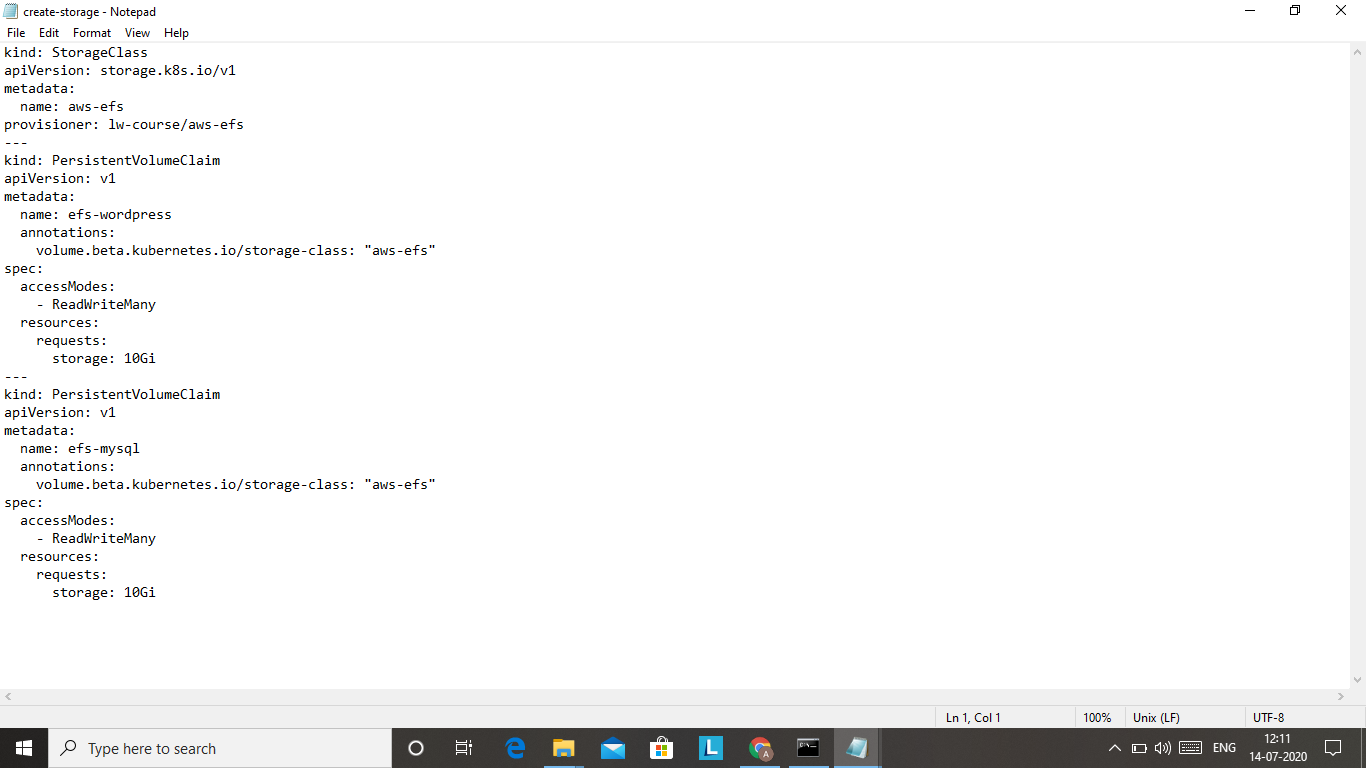
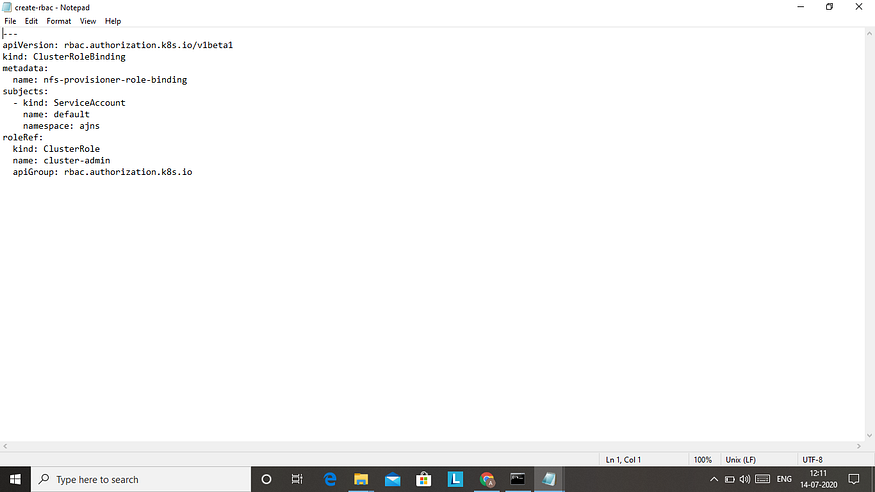
To create EFS using CLI we need to create three yml files one is efs-provisioner.yml second is storage.yml and the third is the rbac.yml file
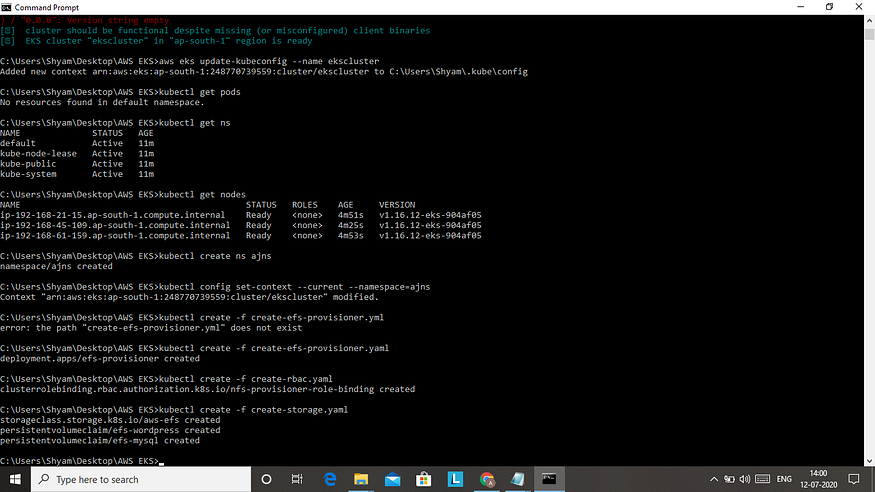
Before running all these three files let's create a different namespace for our project by using cmd — kubectl create namespace namespace name In my case I already created one named ajns
after that set your namespace to the one you have created using cmd :
kubectl config set-context — current — namespace=namespace name
Now run that files using these three cmds:
kubectl create -f create-efs-provisioner.yaml
kubectl create -f create-storage.yaml
kubectl create -f create-rbac.yaml
STEP 5 — Now create a secret box to hold your passwords and username of your MySQL and WordPress for privacy
CMD: kubectl create a secret generic MySQL-pass from-literal=password=your password
STEP 6 — To deploy your WordPress and MySQL images for this we have created yaml files for both
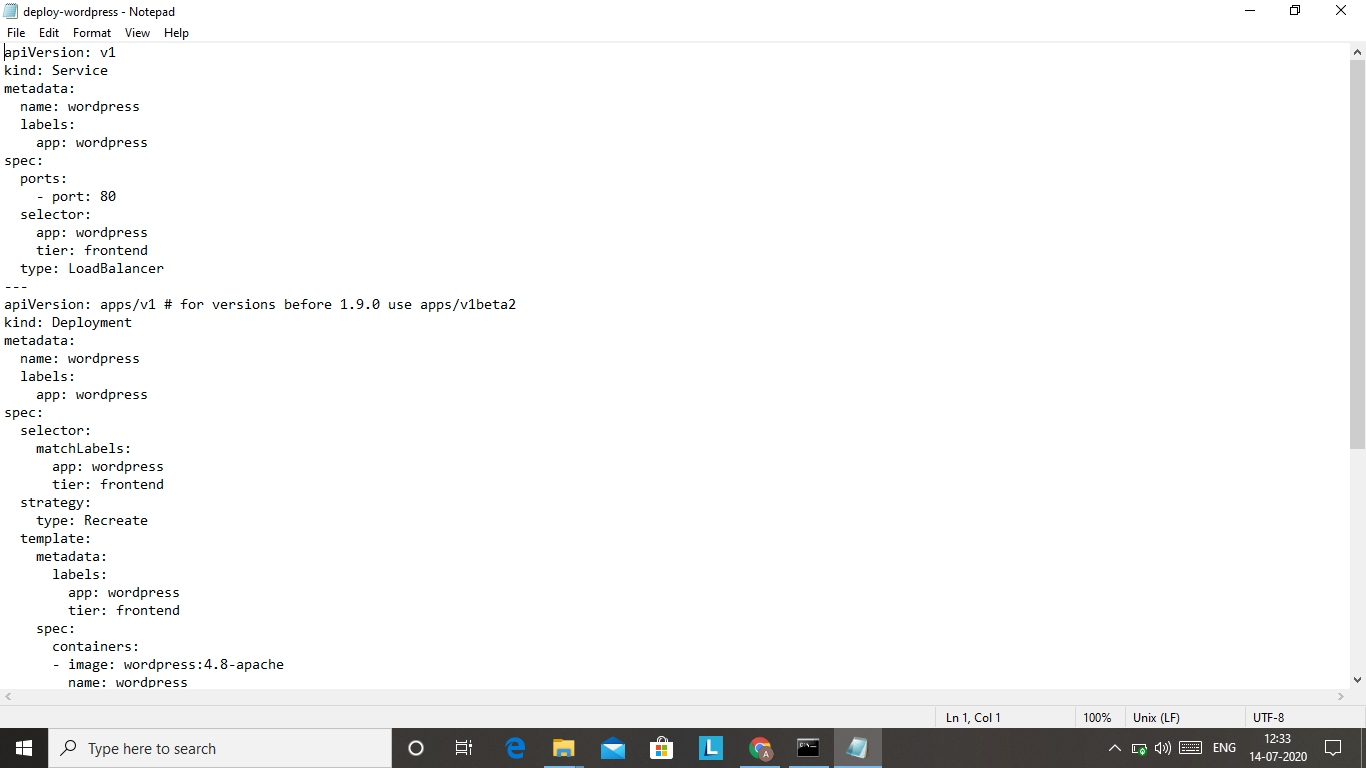

Now run the cmd to deploy your WordPress site MySQL database server
CMD: kubectl create -f deploy-wordpress.yaml
kubectl create -f deploy-mysql.yaml
That's it you did it now get your load balancer IP from cmd:
kubectl get svc
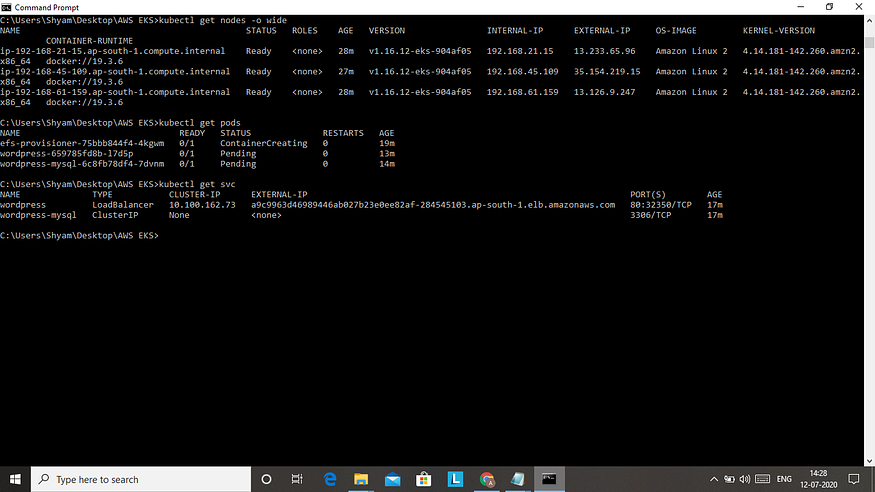
Search this IP on google and you get your WordPress site page
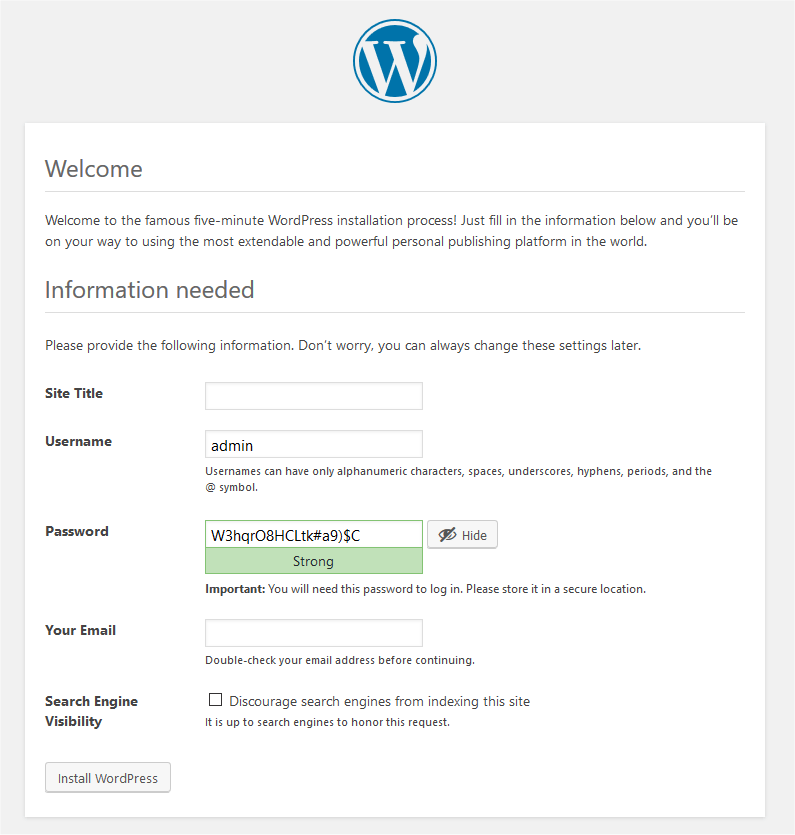
And you have successfully deployed WordPress on EKS
THANK YOU !!
FOR ALL THOSE YML AND YAML FILES YOU CAN VISIT TO MY GITHUB REPO AND DOWNLOAD THEM FROM THERE
MY GITHUB URL:- https://github.com/akshat5302/EKS-.git
